
You recorded your first track. You played it back. And your heart sank.
The vocals sound thin. The guitar has a hum. Everything feels distant, like you recorded it inside a cardboard box. Sound familiar? This is the moment most beginners realize that a laptop’s built-in sound card or even a cheap USB microphone simply can’t deliver the audio quality that serious creators, podcasters, and musicians need.
Here’s the good news: you don’t need to spend a fortune to fix it. The right audio interface for beginners most under $200 can transform your recordings from amateur to professional overnight. Whether you’re tracking vocals for YouTube, recording acoustic guitar, launching a podcast, or building your first home studio, this guide covers everything you need to know: what to buy, why it matters, and exactly how to set it up.
By the end, you’ll know precisely which interface suits your setup and budget no guesswork, no wasted money.
What Is an Audio Interface
An audio interface is a device that converts analog sound from your microphone or guitar into digital audio your computer can record, process, and play back with high fidelity.
Think of it as the translator between the real world and your DAW (Digital Audio Workstation). Without it, your computer relies on a generic, low-quality sound chip that introduces noise, latency, and poor dynamic range.
Audio Interface vs. USB Microphone Which Is Right for You?
| Feature | USB Microphone | Audio Interface + XLR Mic |
|---|---|---|
| Simplicity | Plug-and-play | Requires setup |
| Sound Quality | Good (limited) | Excellent |
| Flexibility | One mic, fixed | Multiple inputs, upgradeable |
| Price Entry Point | $50–$150 | $50+ (interface) + mic cost |
| Best For | Solo podcasters, casual use | Musicians, serious creators |
When you don’t need an audio interface: If you record solo voice-overs occasionally and already own a quality USB mic like the Shure MV7, an interface isn’t urgent. But the moment you want to record guitar, use an XLR condenser mic, or capture two sources simultaneously an interface becomes essential.
For GarageBand users in 2026, yes -you absolutely benefit from an audio interface. GarageBand supports external interfaces natively on both Mac and iOS, and the quality difference is immediately noticeable.
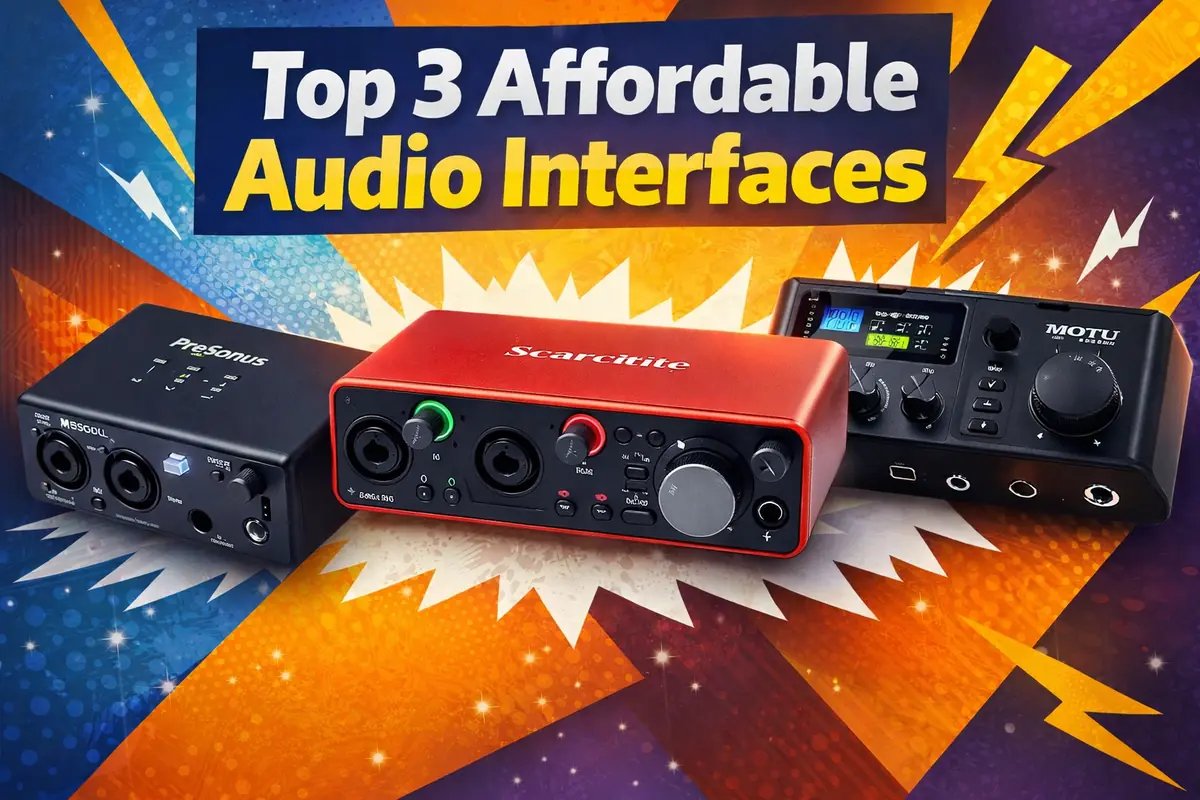
Quick Answer – Best Audio Interfaces Under $200 (2026 Picks)
| Interface | Best For | Key Feature | Price (approx.) |
|---|---|---|---|
| Focusrite Scarlett Solo 4th Gen | Solo vocalists, singer-songwriters | Air mode, USB-C | ~$120 |
| Audient EVO 4 | Absolute beginners | Auto-gain, smartGain | ~$130 |
| PreSonus AudioBox USB 96 | Budget home studios | Studio One bundle | ~$100 |
| Behringer UMC22 | Ultra-budget starters | MIDAS preamp | ~$50 |
| M-Audio M-Track Duo | Podcasters, duos | 2 XLR inputs under $100 | ~$90 |
Each of these USB-C or USB audio interfaces punches well above its price point. The Focusrite Scarlett Solo 4th Gen remains the most recommended beginner interface globally and for good reason.
How to Choose the Right Audio Interface
Specs can feel overwhelming when you’re starting out. Here’s what actually matters.
Inputs & Outputs
Most beginners need one XLR input (for a condenser or dynamic mic) and one instrument input (Hi-Z, for guitar or bass). A single-channel interface like the Scarlett Solo handles this perfectly. If you plan to record two sources at once two vocalists, or guitar plus vocals choose a 2-channel interface like the Scarlett 2i2 or M-Track Duo.
Phantom Power Explained
Condenser microphones the large-diaphragm mics you see in studios require phantom power (+48V) to operate. Every interface on this list supplies it. Simply press the 48V button on your interface before recording with a condenser mic. Dynamic microphones (like the Shure SM58) do not need it and are unaffected when phantom power is on.
Sample Rate & Bit Depth
Record at 44.1kHz / 24-bit for music and podcasts. This is the industry standard and captures more dynamic detail than CD quality (16-bit) without bloating your file sizes. Some interfaces offer 96kHz or 192kHz these are useful for audio post-production but overkill for most beginners. Don’t let spec sheets distract you from the basics.
Auto-Gain – A Game-Changer for Beginners
The Audient EVO 4’s smartGain feature automatically sets the optimal recording level for your microphone in seconds. For beginners who don’t yet know how to set gain manually, this alone makes the EVO 4 worth serious consideration. Simply press the button, make some noise, and the interface calibrates itself. No clipping, no guesswork.
How to Connect an Audio Interface to Your Laptop (Step-by-Step)
Setting up your interface takes under 10 minutes. Here’s how:
- Download and install drivers – Visit your manufacturer’s website (e.g., focusrite.com) and install the latest driver for your OS (Windows 10/11 or macOS). Most modern interfaces are class-compliant and work without drivers on Mac.
- Connect via USB-C – Plug the interface into your laptop using the included cable.
- Set as default audio device – On Windows 11: Settings → System → Sound → select your interface as input and output. On Mac: System Settings → Sound.
- Open your DAW – In GarageBand, Logic, Audacity, or Reaper, select your interface as the audio input device.
- Set input/output levels -Start with gain at 12 o’clock, speak or play, and adjust until your signal peaks around -12dB to -6dB.
💡 Pro Tip: If you experience audio latency (a delay between playing and hearing sound), reduce your buffer size in your DAW’s audio settings. Try 128 or 256 samples for a balance between low latency and CPU stability.
Using an Audio Interface with Your Phone
Mobile creators are recording entire albums and podcasts on iPhones and iPads – and audio interfaces make it possible to use professional XLR microphones on the go.
For iPhone/iPad users: You’ll need a USB-C to Lightning or USB-C adapter (Apple’s Camera Connection Kit works well). USB-C interfaces like the Scarlett Solo 4th Gen connect directly to iPads with USB-C ports. Check that your interface is bus-powered – meaning it draws power from the connected device – since phones can’t supply power to interfaces that require external adapters.
For Android users: Most USB-C Android phones support audio interfaces via OTG (On-The-Go). Enable OTG in settings and connect your interface. Apps like BandLab, FL Studio Mobile, and GarageBand (iOS only) support external interfaces natively.
Best use cases for mobile recording: Instagram Reels voiceovers, on-location podcast interviews, singer-songwriter demos, and YouTube commentary recorded away from a desk.
Best Beginner Comparisons Which One Should You Pick?
Focusrite Scarlett Solo vs. Scarlett 2i2 Choose the Solo if you record alone – one voice, one instrument. The 2i2 adds a second XLR input and is worth the extra $50 if you ever record two sources simultaneously.
Audient EVO 4 vs. PreSonus AudioBox USB 96 Choose the EVO 4 if you want auto-gain and a more modern preamp sound. Choose the AudioBox if you want the bundled Studio One DAW and a slightly warmer vintage character.
Behringer UMC22 vs. M-Audio M-Track Duo The UMC22 is the most affordable entry point with a surprisingly capable MIDAS preamp. The M-Track Duo costs more but adds a second XLR input and better build quality – a smarter long-term investment.
Hidden Gems & Low-Competition Picks (2026)
Best for Linux users: The Focusrite Scarlett Solo 4th Gen and Audient EVO 4 are both class-compliant and work out of the box on Linux Mint and Ubuntu without additional drivers. Most Behringer interfaces also work natively.
Best for travel recording: The IK Multimedia AXE I/O One (~$80) is compact, bus-powered, and built for portability. At under 200 grams, it fits in any camera bag. Alternatively, the MOTU M2 offers exceptional conversion quality in a compact form – slightly above $200 but worth stretching your budget for.
Should You Buy a Used Audio Interface?
Used interfaces can save you 30–50%, but they come with risks beginners should understand.
Common risks: Worn gain knobs (introducing crackling), outdated drivers no longer supported by the manufacturer, damaged USB ports, and hidden noise or ground loop issues.
Before buying used, check:
- Test all inputs and outputs with a known-good mic and headphones
- Confirm the model is still driver-supported for your OS
- Ask for original packaging (suggests careful ownership)
- Avoid interfaces over 5–6 years old unless they are premium models (MOTU, RME) built for longevity
Platforms like Reverb.com often have verified seller ratings and return policies safer than unverified classifieds.
FAQs
Q1: Do I need an audio interface for GarageBand? Not strictly GarageBand works with USB microphones. However, an audio interface dramatically improves recording quality and lets you use professional XLR microphones with GarageBand on Mac and iOS.
Q2: What does phantom power do on an audio interface? Phantom power (+48V) supplies electrical power to condenser microphones via the XLR cable. Without it, condenser mics won’t function. Dynamic mics don’t require it.
Q3: What is the best sample rate for beginners? Record at 44.1kHz for music and 48kHz for video content (the standard for video production). Both at 24-bit depth. Higher rates like 96kHz are unnecessary for most beginner projects.
Q4: Can I use an audio interface with a phone? Yes. Most USB-C interfaces connect to modern iPhones (with an adapter), iPads, and Android phones via OTG. Ensure your interface is bus-powered for mobile use.
Q5: Is a USB mic better than an audio interface? A USB mic is simpler and more portable. An audio interface paired with an XLR mic offers superior sound quality, more flexibility, and a clear upgrade path as your skills grow.
Conclusion – Start Simple, Sound Professional
Here’s the bottom line: the best audio interface for beginners in 2026 is the one that removes friction between your ideas and the recording. You don’t need the most expensive gear – you need the right gear.
- Start with the Focusrite Scarlett Solo 4th Gen if you’re a solo vocalist or singer-songwriter who wants industry-standard quality and rock-solid driver support.
- Choose the Audient EVO 4 if you’re a complete beginner who wants auto-gain to handle levels for you while you focus on performing.
- Go with the Behringer UMC22 if you need to spend as little as possible while still making a genuine upgrade from your laptop’s sound card.
Your recordings deserve better than your laptop’s built-in audio chip. Pick an interface, plug in your mic, and start making something worth hearing.
Have a question about a specific interface or your setup? Drop it in the comments – we read every one. And if this guide helped you, share it with a fellow creator who’s still struggling with bad audio.